


Windows Obkio Agent Installation Guide
- How to install the Obkio Monitoring Agent on Windows
What you are going to learn:
The Windows Monitoring Agent is good for both Desktop and Server editions. It is also widely used for remote network monitoring on home workers' computers to help the helpdesk support and troubleshoot with remote users.
Installation Instructions 
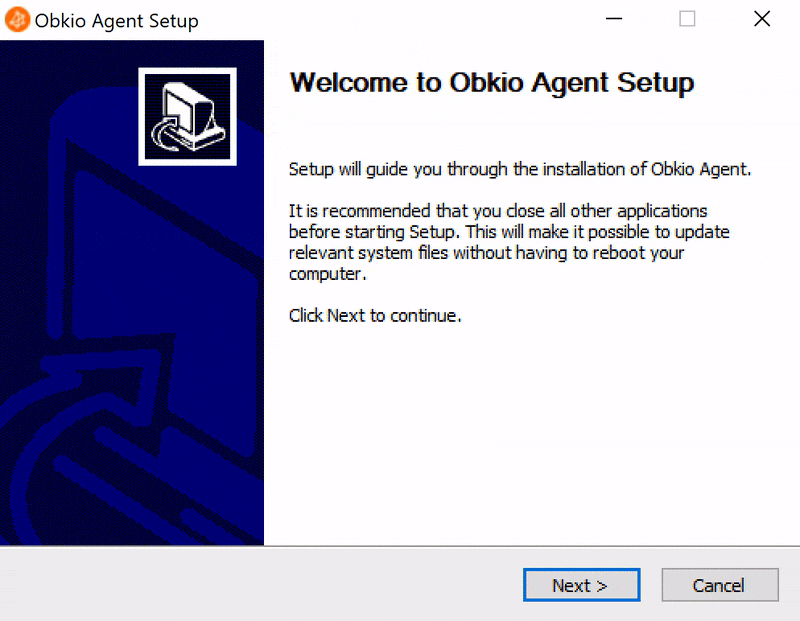
Download Windows (64-bits) Obkio Agent Installation Wizard
- Inside the App, create a new Software Agent. In the Installation Instructions window, select Windows 10 and write down the Agent ID.
- Download and execute the Installation Wizard (link above).
- Enter the Agent ID found in the App during the installation process.
That's it. Once installed, the agent will start and will update itself automatically when needed.
Minimum Requirements
- CPU: 2 cores
- Memory: 4 GB
- Disk: 20 GB
- Windows x86 64 bits (Windows 11+ or Windows Server 2024+)
Start / Stop / Restart the Obkio Agent
The Windows Obkio Agent will install as a Windows Service and will start automatically when the computer starts. To manually start / stop / restart the agent, open the Task Manager, select the Services tab and right click on ObkioAgentService.
Firewall Settings
As for all other agent types, some firewall configurations might be required if outbound connections are filtered. Refer to the article Firewall Configurations for more details.
Uninstallation Instructions
The Windows Agent is installed with an auto-uninstaller. When the agent is deleted in the App, it is automatically uninstalled from the host in the next hour or when the host computer is back online.
You can uninstall the agent from the Add/Remove Programs windows application or you can run the file ObkioAgentUninstall.exe that is located in the installation directory. By default, it is C:\Program Files\Obkio Agent\.
Windows Agent Limitations
The Windows Obkio Agent does not support:
- TCP and UDP Traceroutes
- TOS and DSCP Settings
- APM Web Features
Silent Installation and Mass Deployment
To silently install the agent on one computer with an Agent ID:
ObkioAgentInstall.exe /S /AGENTID=<agentID>
To silently install the agent on many computers, you can use a Deployment Profile. Once you have your Deployment Key, you can execute the installer:
ObkioAgentInstall.exe /S /DEPLOYMENTKEY=<deploymentKey>
Once installed, all the agent settings can be changed. Changing a setting in the Deployment Profile will not change it on the agent previously installed with the profile.
Send Event Logs to the Support team
In some cases, the Support Team needs the Windows Event Logs to troubleshoot. If this is the case, just send the file C:\Windows\System32\winevt\Logs\Application.evtx to support@obkio.com.
Blog Post
A more detailed article about the key features and benefits of the Windows Agents is available on our blog: The Benefits & Features of Obkio’s Windows Network Monitor
