








Network Device Creation
- How to add a network device with the creation wizard
- How to configure SNMP on your device
- What the SNMP Configuration Verification tests mean
What you are going to learn:
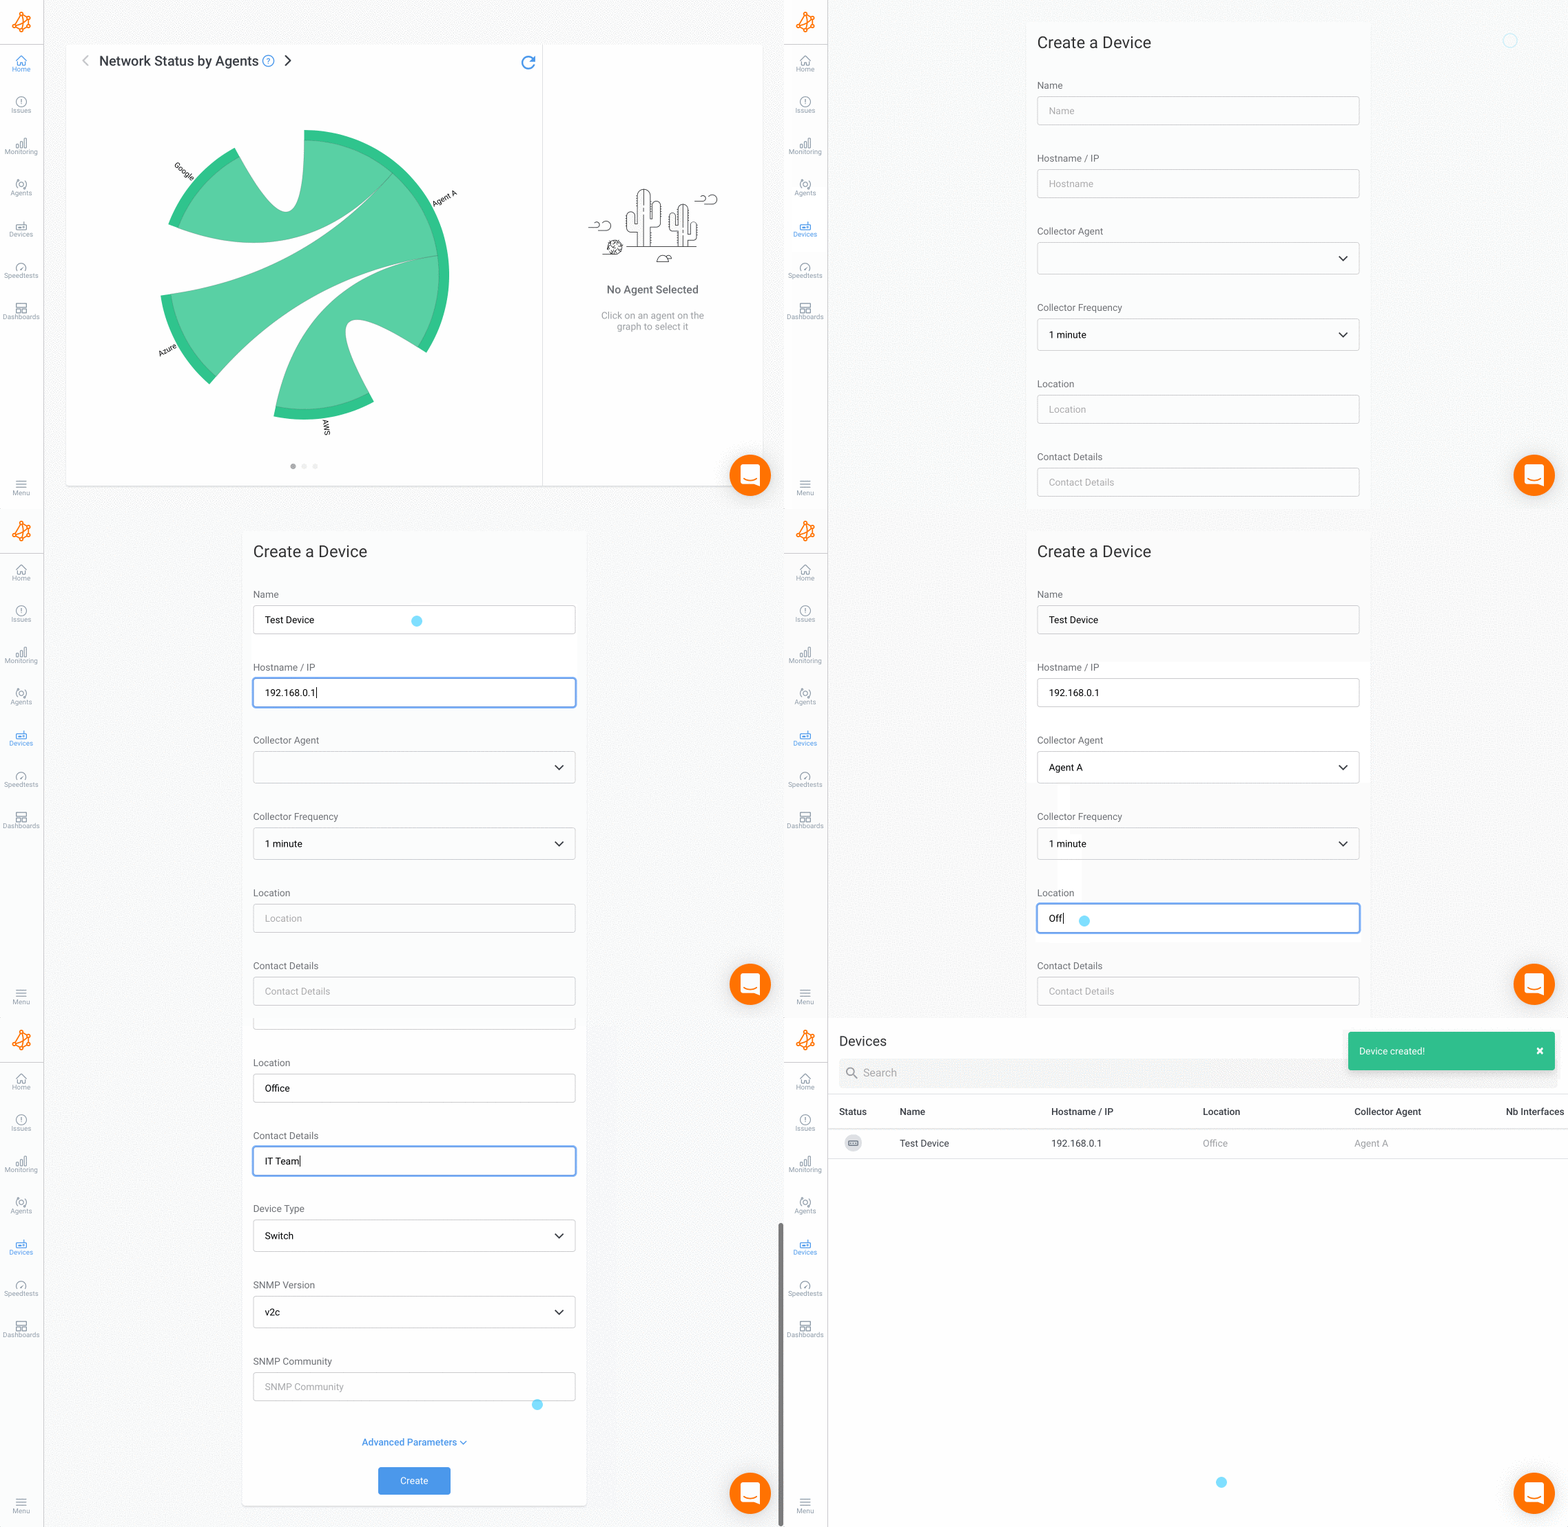
Network devices are added in the Obkio App with a step-by-step creation wizard. The wizard collects the device information, shows you how to configure SNMP on your device, and tests the connection between the Collector Agent and the device before the device is created. This way, most configuration issues are found during the setup instead of after.
To start the wizard, go to the Devices page in the Obkio App and click the + button at the top right (Add device).
Before You Start 
- At least one Monitoring Agent (software, hardware or virtual appliance, but not public) must be installed in the same network as the device. This agent will be the Collector Agent: it polls the device using SNMP.
- SNMP (
v1,v2corv3) must be available on the device. Only a read-only access is required. Learn more on SNMP Configuration. - The connection tests require a Collector Agent running version
v2 (1.12.4)or later. With an older agent, the wizard showsAgent is not supported for connection test. You can still create the device, but the tests are skipped.
Step 1: Device Identity
- Name: A name to identify the network device.
- Device Physical Location: Where the device is located (optional).
- Primary Contact for this Device: Who is in charge of this device. It could be an email, name or phone number (optional).
Click Continue.
Step 2: Collector Agent
- Hostname / IP: Hostname or IP Address of the network device.
- Select Collector Agent: The agent that will take charge of the SNMP polling. Select the agent closest to your device for better connectivity and local SNMP polling.
Click Test Connection. The Collector Agent pings the device (ICMP) to confirm that it can reach it. This may take up to a minute.
- If the test is successful,
Connection successfulis displayed. ClickContinue. - If the test fails,
Can't connect to the deviceis displayed. Make sure the IP address or hostname is correct, that the device is online, and that the agent's network can reach the device. Then clickRetry.
Some devices block ping (ICMP). In that case, click Continue Anyway: SNMP communication may still work.
Step 3: Device & SNMP Setup
- Select your device category:
Firewall / Router,SwitchorWifi AP. If the device is not exactly one of the three, useFirewall / Router. - Select your device vendor / OS:
Cisco IOS,Cisco Meraki,Juniper Junos,FortinetorOther. The vendor is used to display the SNMP configuration instructions for your device in Step 5. If your vendor is not in the list, selectOther. - Collector Frequency: The interval between two SNMP pollings.
Click Continue.
Step 4: SNMP Configuration & Verification
Enter the SNMP settings that the Collector Agent will use to communicate with the device:
- SNMP Version:
v3is the most secure and is recommended.v2cis the easiest to set up and only requires a community string, but the messages are not encrypted. Usev1only if the device doesn't support newer versions. Learn more on SNMP Configuration. - SNMP Community (
v1andv2c): The community string configured on the device. Use only letters (lowercase or uppercase) and numbers, with a minimum of 8 characters: special characters can cause encoding issues. - SNMP v3 parameters (
v3): Security level, security name, authentication and privacy protocols and passwords, context name and context ID. For the security name and passwords, use only letters (lowercase or uppercase) and numbers, with a minimum of 8 characters. WhenSHAis selected, SHA-1 is used, and whenAESis selected, AES-CFB-128 is used. Learn more on the SNMP v3 Parameters and the SNMP Credentials Recommendations.
The Advanced Parameters section contains the SNMP port, the SNMP protocol, the 32-bit counters option, the device unreachable severity and the interface options. The default values work for most devices. Learn more on the Advanced Parameters.
Click Complete.
Step 5: Configure SNMP on Your Device
This step shows how to configure SNMP on your device, based on the vendor and the SNMP version selected in the previous steps.
- For
Cisco IOS,Cisco Meraki,Juniper JunosandFortinet, step-by-step instructions are displayed. When both are available, selectCLIorWeb UIto choose how you want to configure the device. The recommended method for the vendor is selected by default. Each CLI block has aCopybutton, and the commands are pre-filled with the values you entered in the wizard (community, security name, port, etc.). The same instructions are available in the SNMP Configuration Guides. - For
Other, links to the SNMP configuration guides of other vendors are displayed. The complete list is available in the SNMP Configuration Guides.
Once SNMP is configured on the device, click Test SNMP. The Collector Agent runs the SNMP Configuration Verification:
- Checking if the device is reachable (ICMP)
- Testing if SNMP port is open
- Validating SNMP credentials and confirming service response
The checks run in order. If a check fails, the following checks are not run. If all the checks are successful, the device is created automatically.
If a check fails, the wizard explains what went wrong:
- Can't connect to the device (ICMP): The Collector Agent can't reach the device. Verify the IP address or hostname, and that ICMP is allowed between the Collector Agent and the device.
- SNMP Port Blocked (UDP 161): The device is reachable, but the SNMP port is not open. This usually means that a firewall or ACL rule is blocking SNMP traffic between the Collector Agent and the device. If another team manages the firewall rules, click
Copyon theInstruction for Security Teamblock to share the rule that needs to be added. - SNMP authentication failed: The device is reachable and the SNMP port is open, but the SNMP credentials were rejected. Verify that SNMP is enabled on the device and that the community string (
v1/v2c) or the SNMPv3 username and passwords match exactly what is configured on the device.
Fix the configuration and click Retry, or click Continue Anyway to create the device without a successful verification. Learn more in Troubleshooting.
If the Collector Agent doesn't support the connection tests, click Create Device instead.
Step 6: Device Connection
Once the device is created, the wizard waits for the device to report its first SNMP data. You can continue using Obkio in the meantime.
- Your device has been added and configured successfully!: The device is created and is being monitored.
- Device Added — No Metrics Available: The device is created and is in the device list, but it is not sending monitoring data. This happens when the device was created after a failed test, or when the tests were not available and the device did not send data shortly after its creation. Click
Test Againto rerun the tests once the configuration is fixed, or edit the device settings. Learn more in Troubleshooting.
Then, click Add Another Device to start the wizard again, or Finish Setup.
Prepare for Insights (Optional)
When the device is added successfully, the wizard offers to prepare the device for Obkio Insights. Click Set Up Now and enter:
- Internet port used by this device: The device interface connected to the Internet.
- Maximum download speed and Maximum upload speed: The speeds of the Internet connection, in Mbps.
Click Save. This information allows Insights to detect when the Internet connection is saturated. It can also be configured later in the Insights tab of the Device Settings.
Edit a Network Device
The device settings use the same layout as the creation wizard. Learn more on the Network Device Settings.