


Getting Started - Part 2
- How to add extra Obkio Agents
- How to change the default configuration used in the setup guide
- How to add metrics specific to the user's use cases
What you are going to learn:
Once the Onboarding Wizard is completed, the user will now have a new account with a local Obkio Monitoring Agent running to collect network and application performance metrics. But that's only the beginning.
At this point, users should consider improving the configuration by adding more meaningful metrics tailored to their use case. The central piece of Obkio is the Monitoring Agent, so adding extra agents should be the next step.
The part 2 of this Getting Started guide shows users how to add more Obkio Agents and refine the configuration of their Obkio account.
Add extra Obkio Agents 
Obkio is best used with at least one Monitoring Agent running in each enterprise location. Here's how to add extra Obkio Agents to cover more locations :
- Click on the
Agentstab. - Click on the
Plus (+)icon, located on the top right of the screen. - Click on
Create new agent. - Select
Softwareand click onNext. - Select
Client Onlyand click onNext. - Specify the desired name of the new agent and select the
My Agentsgroup from the dropdown menu available in theAdd Agent to Groupsparameter. Then click onCreate. - Install the agent on the host where the agent will run and gather network and application performance metrics.
- Click on the
Hometab and confirm that the agent is online. The lines coming from the agent should turn green within 5 minutes following the agent installation.

These steps teaches users how to add another Agent in the account to monitor network performance from an Internet standpoint. This is just an example of how to deploy an Obkio Agent, but there are multiple ways to deploy agents to cover multiple use cases. Read more on this in the Next Steps section below.
Customize the default configuration
Once more agents are installed, it users should customize the default configuration, obtained from the setup guide, to the fit their needs.
Here's how to rename the first local Obkio Agent deployed:
- Click on the
Agenttab. - Click on the
My Agentagent. - Click on the three dots icon, located on the top right of the screen.
- Click on
Edit. - Update the name of the agent specified in the
Agent Nameparameter. An appropriate name could be the name of the office, the user or the VM where the agent is installed. Click on
Save.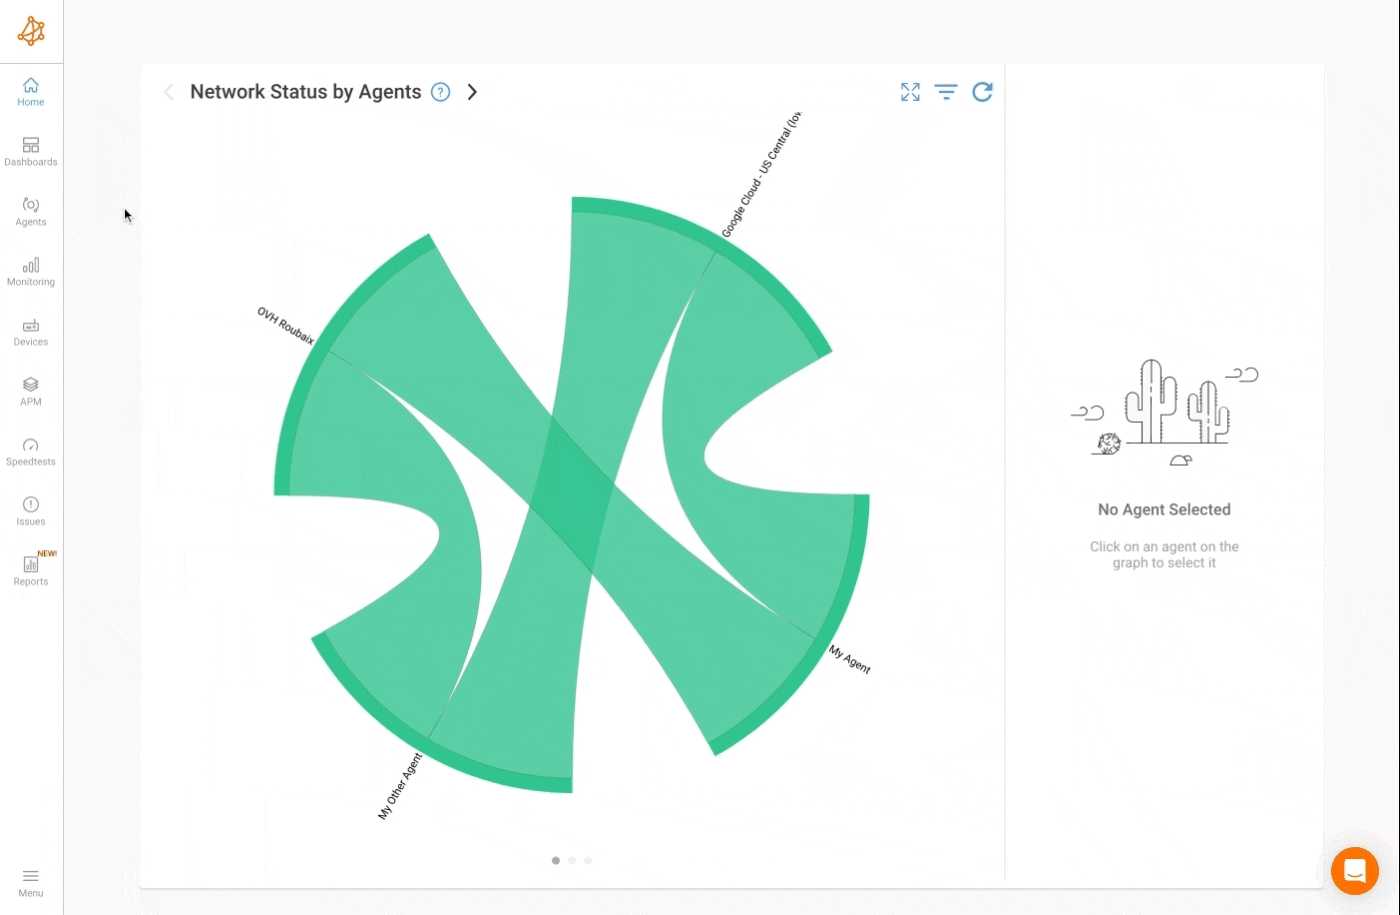
- Click on the
Here's how to rename the group used for local agents:
- Click on the
Menuicon, located on the bottom left of the screen. - Click on
Groups. - Click on the
My Agentsgroup. - Update the name of the group specified in the
Group Nameparameter. An appropriate name could beBranches,Offices,Data CenterorRemote Users. Click on
Save.
- Click on the
Here's how to rename the default Monitoring Template:
- Click on the
Monitoringtab. - Click on the gear icon, located on the top right of the screen.
- Click on the
My First Monitoring TemplateMonitoring Template. - Update the name of the Monitoring Template specified in the
Template Nameparameter. An appropriate name could beLAN to WAN,Offices to Internetor<<My Company>> to Public Agents. Click on
Save.
- Click on the
Cover specific use cases
At this point, the user should have expanded their configuration with more agents and custom names. Here's a list of what could be done next with Obkio :
- Add a Monitoring Template to track site-to-site performance via MPLS or VPN links.
- Add scheduled speedtests for daily testing. Then, add a speedtest scheduled report to receive a weekly emails with results of all the speedtests in an attached spreadsheet.
- Add Application Monitoring to track Teams, Zoom or internal Web applications.
- Add SNMP polling on edge equipment like Firewalls, SD-WAN edge or core Switches to gather meaningful performance metrics from them.
- Create a dashboard for each location to visualize all the network, device and application metrics, giving a centralized point-of-view of all the information gathered.
- Add more Public Monitoring Agents and SD-WAN policies or static routes on SD-WAN equipments to monitor an SD-WAN network.
If you need any help, get in touch with our Support Team.
